
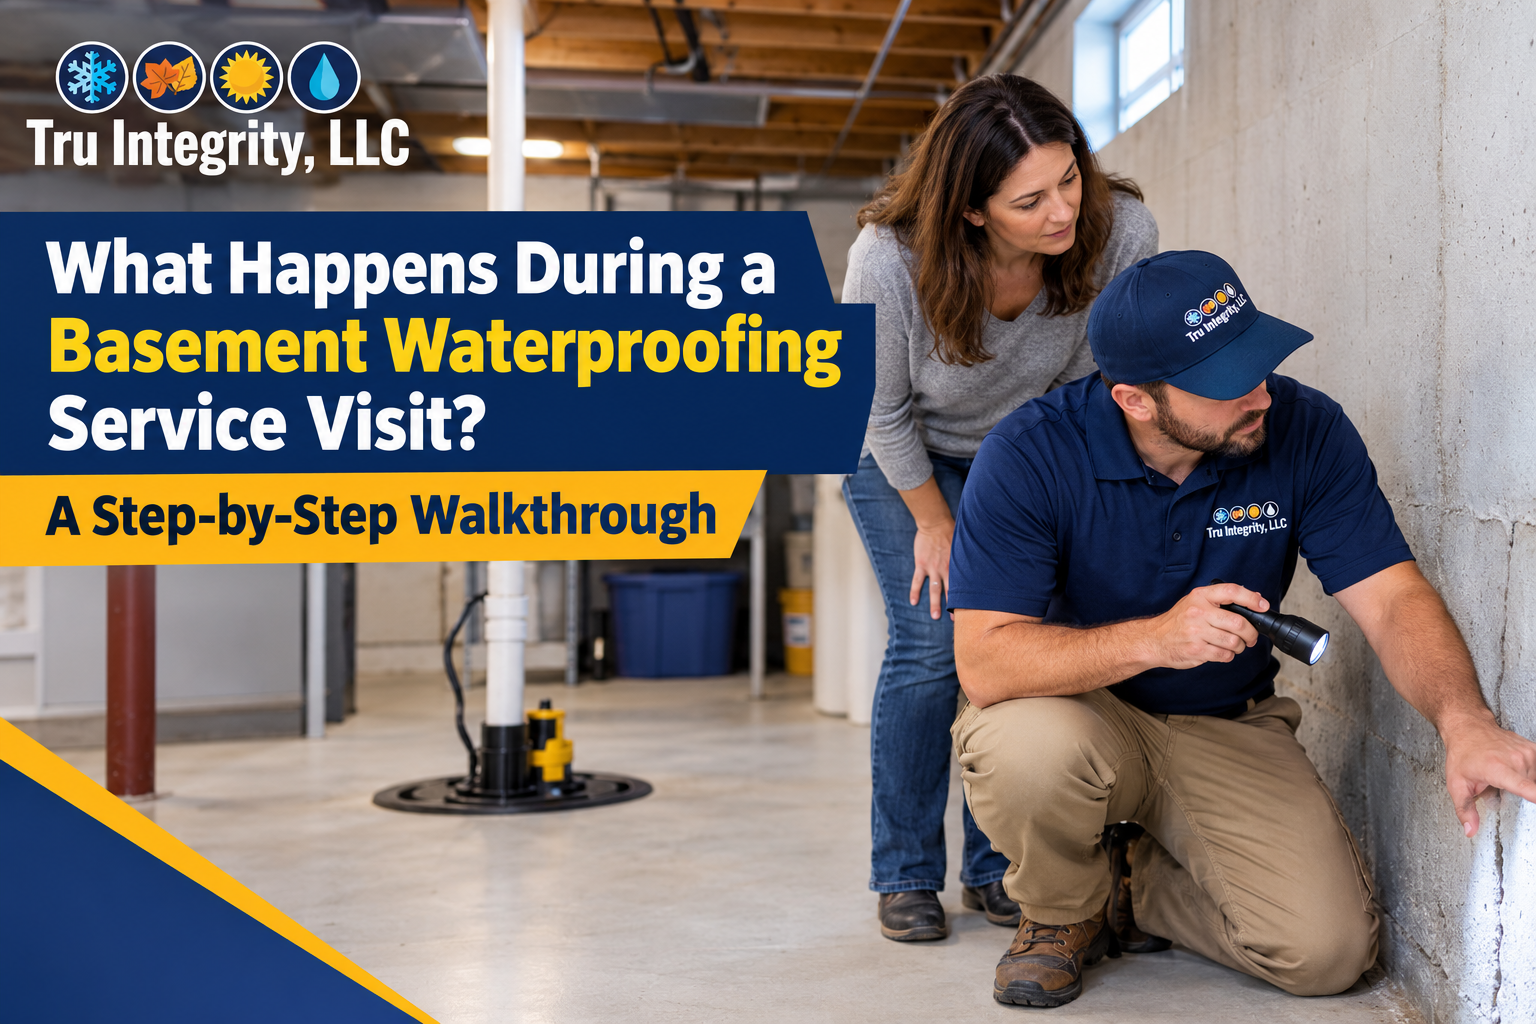
Basement moisture can lead to water stains, musty odors, damaged belongings, and concerns about your home’s foundation. If you notice these problems, a professional inspection can help you understand what is happening and how to address it.
During professional basement waterproofing services, technicians follow a series of steps to inspect the basement, identify water sources, recommend suitable repairs, and check the completed work. Knowing what happens during each stage helps homeowners prepare for the visit and make informed decisions.
Step 1: Discuss the Basement’s Water Problems
The first step is a conversation between the homeowner and the technician. You will be asked about the moisture problem, when it started, and whether it becomes worse after heavy rain or snowmelt.
Explain where you have noticed damp spots, water puddles, peeling paint, or musty smells. Mention previous repairs and whether water returns after the area dries.
Before the appointment, move stored items away from affected walls and clear access to important areas. This allows the technician to examine the basement without unnecessary delays.
Step 2: Inspect the Basement and Foundation
Next, the technician examines the basement to look for visible signs of water intrusion. During professional basement waterproofing services, this inspection helps identify areas that may need further attention.
A full-service basement waterproofing assessment may also include checking the property’s drainage conditions and existing water management equipment.
The technician typically checks:
- Foundation walls and floors for cracks and stains.
- Wall-floor joints for signs of seepage.
- Windows and window wells for possible water entry.
- Plumbing connections for visible leaks.
- Existing sump pumps and drainage components.
- Exterior grading, gutters, and downspouts when accessible.
The findings help the technician understand where water may be entering and whether the problem appears to involve the foundation, drainage, or plumbing.
Step 3: Identify the Source of Moisture
After the initial inspection, the technician investigates possible causes of the water problem. Depending on the situation, this may involve moisture meter readings, examining affected materials, checking drainage pathways, or testing existing equipment.
For example, dampness near a basement window may point to a problem with the window well or exterior drainage. Water appearing where the wall meets the floor may indicate groundwater entering through that joint.
However, visible signs do not always confirm the exact cause. The technician should explain the findings and recommend further assessment if needed. If a plumbing leak is suspected, a qualified plumber may need to investigate it separately.
Identifying the source is important because sealing one visible crack may not resolve a larger drainage problem.
Step 4: Review the Recommended Waterproofing Plan
Once the inspection is complete, the technician explains the recommended solution. The plan should address the identified water source rather than simply cover visible stains or damp spots.
Depending on the findings, options may include crack sealing, drainage improvements, sump pump repairs, or an interior drainage system. The waterproofing inside basement process may involve collecting water near the foundation and directing it toward a suitable drainage outlet.
Before approving the work, review the written estimate. Confirm which areas will be treated, what materials will be used, and whether concrete removal or excavation is necessary.
Ask about the project timeline, cleanup, warranty coverage, and any limitations. If several solutions are available, request an explanation of their differences so you can choose the option that suits your home’s needs.
Step 5: Prepare the Work Area
Before repairs begin, technicians prepare the basement for the planned work. This may involve moving equipment, covering nearby belongings, protecting accessible surfaces, and marking the areas where repairs or drainage components will be installed.
The preparation depends on the project. A small crack repair may require minimal setup, while an interior drainage installation can involve more extensive preparation.
Technicians should explain whether you need to move furniture, keep children or pets away from the work area, or make arrangements for noise and dust.
This step helps reduce disruption and allows the team to work safely and efficiently.
Step 6: Complete the Waterproofing Repairs
The technicians now carry out the approved work. The exact process depends on the recommended solution, so not every basement requires the same repairs.
For crack sealing, the team prepares the affected area and applies a suitable repair material. For an interior drainage system, technicians may open sections of the concrete floor, install drainage components, connect the system to an appropriate outlet, and restore the affected surface.
If a sump pump Installation is included, the team installs the pump, connects it to the drainage system as needed, and sets up the discharge line. The discharge should direct water away from the foundation in accordance with local requirements.
Some projects can be completed in one visit, while larger jobs may take longer. The technician should keep you informed if the work reveals additional issues or requires changes to the original plan.
Step 7: Test the System and Inspect the Repairs
After the installation or repairs, the team checks whether the completed work functions as intended.
For example, technicians may test a sump pump to confirm that it activates and discharges water properly. They may also check drainage connections, inspect repaired cracks, and review the areas affected by construction.
These checks help identify visible installation issues before the team finishes. However, they cannot guarantee that water will never enter the basement again under every possible weather or groundwater condition.
Ask the technician to explain what was tested, whether anything needs further attention, and what signs you should monitor after the service.
Step 8: Complete the Final Walkthrough
The final walkthrough gives you a chance to review the work with the technician before the appointment ends.
Make sure you understand which repairs were completed and how to operate any installed equipment. Ask about cleaning, routine maintenance, and what to do if the pump stops working or moisture returns.
You should also receive the relevant paperwork, including the invoice, warranty information, and maintenance instructions. Review the warranty terms carefully so you understand what is covered and which conditions may be excluded.
Before the team leaves, raise any remaining questions about the finished work or future maintenance. Clear instructions make it easier to care for the system and respond to potential problems.
Get Ready for Your Basement Waterproofing Service Visit
A basement waterproofing appointment involves more than repairing a visible leak. It includes discussing your concerns, inspecting the property, identifying possible water sources, completing the recommended work, and checking the results.
Tru Integrity helps homeowners understand their basement waterproofing needs and available solutions. When arranging professional basement waterproofing services, review the proposed plan, ask questions at each stage, and make sure you understand the completed work and its maintenance requirements.
Key Takeaways:
- The visit begins with a discussion about your basement’s water problems.
- Technicians inspect walls, floors, drainage systems, and possible entry points.
- The recommended waterproofing method depends on the source of moisture.
- Installation and repairs vary according to the property’s specific needs.
- A final walkthrough covers system operation, maintenance, and warranty details.
Frequently Asked Questions:
1. How long does a basement waterproofing service visit take?
The time depends on the inspection findings and the work required. An initial assessment may be relatively short, while drainage installation or extensive repairs can require additional visits.
2. Do I need to prepare my basement before the technicians arrive?
Yes. Move belongings away from damp walls, clear access to the sump pit and utility areas, and identify where you have noticed water. Follow any additional preparation instructions provided by the company.
3. Will the technicians need to break the basement floor?
Not always. Crack repairs and some other treatments may not require concrete removal. Interior drainage installations may involve opening sections of the floor to install the necessary components.
4. What happens if technicians find another problem during the visit?
They should explain the new finding and discuss any additional work before proceeding. Ask for an updated estimate and scope of work so you can approve any changes before repairs begin.
5. What should I confirm with Tru Integrity before the visit ends?
Confirm which repairs were completed, how installed equipment operates, what maintenance is required, and what the warranty covers. Keep the service documents for future reference.