
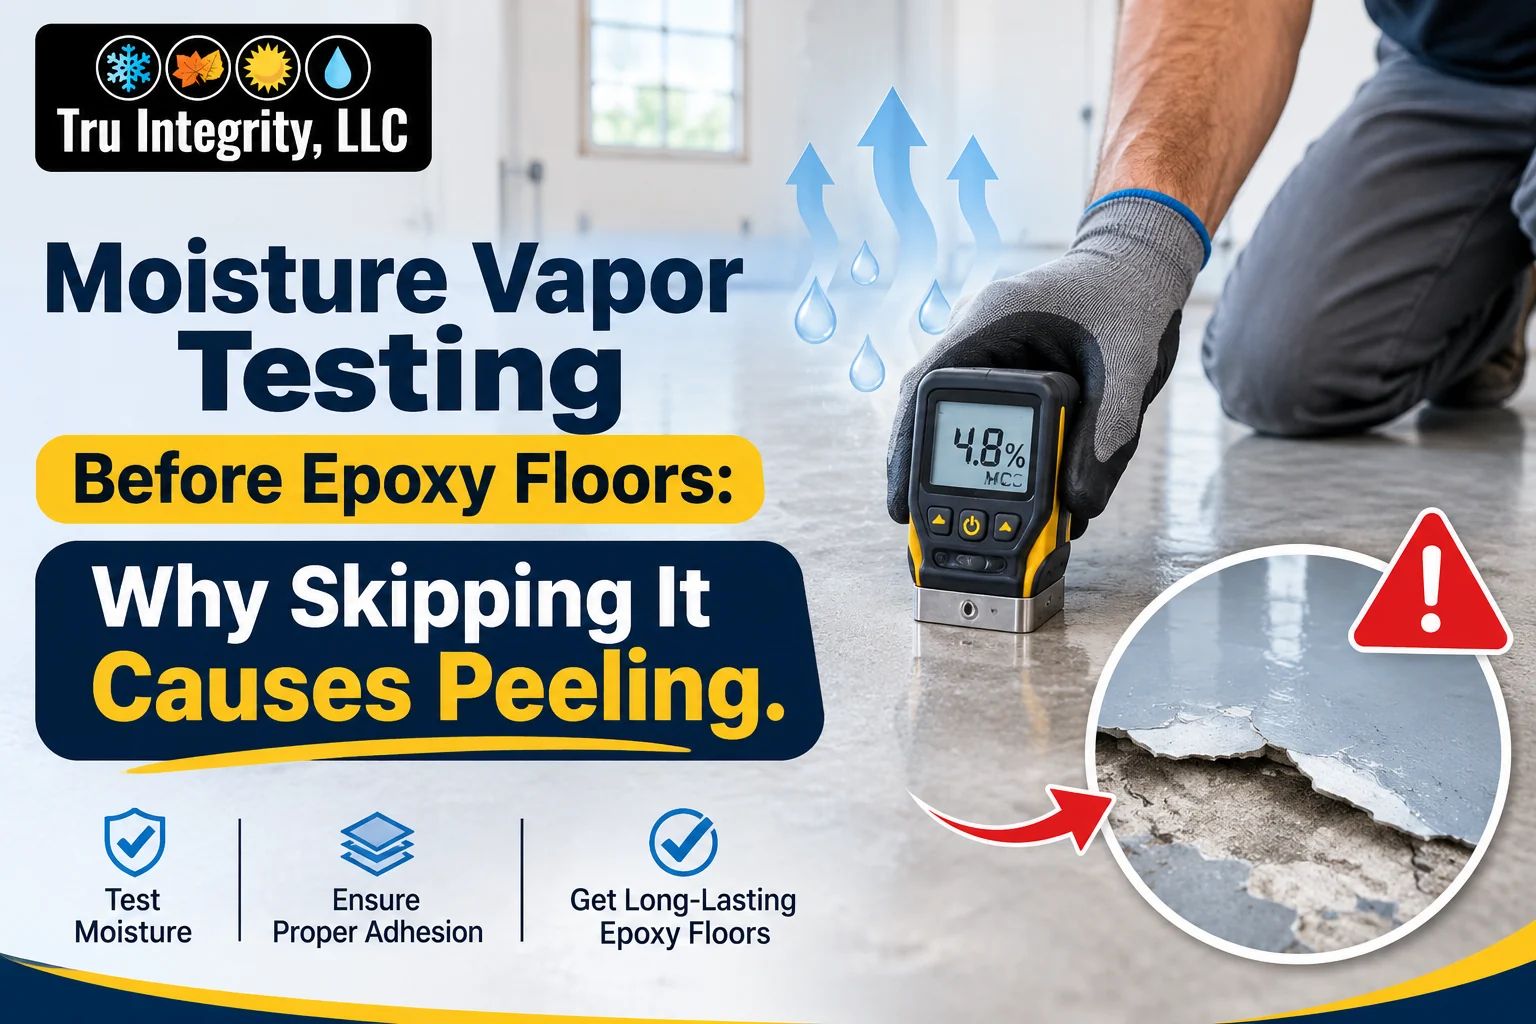
An epoxy floor can look perfect immediately after installation, but hidden moisture beneath the concrete can affect its performance over time. Peeling, bubbling, and coating separation are common problems when moisture is not properly checked before application.
Even a well-installed coating may fail if the concrete holds too much moisture. This is why professional epoxy waterproofing flooring services should include moisture assessment before installation. Testing helps contractors identify potential problems early and prepare the surface for a stronger, longer-lasting finish.
Why Should You Test Concrete Before Installing Epoxy Flooring?
Concrete may look dry on the surface but still contain moisture inside. This moisture can move upward and create pressure beneath the epoxy coating. Over time, it can weaken adhesion and cause peeling, bubbling, or coating failure.
For a basement epoxy floor, moisture testing is especially important because basements are more exposed to groundwater and foundation leaks.
Before choosing epoxy flooring services near me, ask contractors whether they perform moisture testing to ensure the concrete is ready for epoxy installation.
What Does Moisture Vapor Testing Actually Measure?
Moisture vapor testing helps contractors understand the moisture condition of a concrete slab. It determines whether the floor is suitable for the selected epoxy system.
Two commonly used testing methods include:
1. Calcium Chloride Test (ASTM F1869)
<AsyncImage query=” concrete floor calcium chloride moisture vapor emission test kit under plastic dome” aspectRatio=”16:9″ width=”100%”/>
This test measures the moisture vapor emission rate from the concrete surface. A small container of anhydrous calcium chloride is placed under a sealed cover. After the specified testing period, the change in its weight helps calculate how much moisture the concrete has released.
2. Relative Humidity Test (ASTM F2170)
<AsyncImage query=”concrete slab in situ relative humidity moisture testing probe drilled hole” aspectRatio=”16:9″ width=”100%”/>
This method measures moisture inside the concrete rather than only checking what reaches the surface. Small holes are drilled into the slab, and relative humidity probes are inserted to collect readings.
Both methods provide useful information, but the right choice depends on the flooring manufacturer’s requirements and project conditions.
What Problems Can Occur When You Skip Moisture Testing?
Ignoring moisture conditions can turn a flooring project into an expensive repair job. Some problems may appear within weeks, while others develop gradually.
Here are four common issues property owners should understand:
- Peeling and delamination: Excessive moisture can weaken epoxy adhesion, causing sections of the coating to lift away from the concrete.
- Bubbling and blistering: Moisture vapor can create pressure beneath the coating, resulting in raised bubbles or uneven patches.
- White deposits: Moisture can carry dissolved salts toward the surface. These deposits, known as efflorescence, may affect the floor’s appearance.
- Premature coating failure: Continued moisture movement can damage the bond and lead to larger areas of coating separation.
These problems do not always mean the epoxy product is defective. Poor moisture assessment, unsuitable surface preparation, or incorrect application conditions may also be responsible.
What Causes High Moisture Levels in Concrete?
Several factors can increase moisture inside a concrete slab. Identifying the source is important because applying epoxy without addressing the underlying problem may only delay coating failure.
| Possible cause | How it affects the floor |
| Poor drainage | Water collects around the foundation and increases moisture exposure. |
| Groundwater pressure | Moisture moves through the concrete from the surrounding soil. |
| Missing vapor retarder | Ground moisture can travel upward through the slab. |
| Plumbing leaks | Hidden leaks increase moisture in affected concrete areas. |
| New concrete | The slab may still contain excess construction moisture. |
In below-grade spaces, addressing waterproofing basement floor concerns may also be necessary before installing an epoxy coating.
How Should Contractors Prepare Concrete Before Epoxy Application?
Testing is only one part of the installation process. Contractors must also prepare the concrete properly to create a suitable surface for the coating.
A reliable preparation process generally includes these steps:
Step 1: Inspect the existing floor
Check for cracks, stains, previous coatings, surface damage, and visible signs of moisture.
Step 2: Perform moisture testing
Use an appropriate testing method to measure moisture conditions and compare the results with the epoxy manufacturer’s acceptable limits.
Step 3: Identify the moisture source
If readings are high, investigate possible plumbing leaks, groundwater movement, drainage problems, or missing vapor barriers.
Step 4: Prepare the concrete
Remove grease, dust, loose materials, and existing coatings. Mechanical grinding may be required to create the correct surface profile.
Step 5: Repair damaged areas
Repair suitable cracks and surface defects using compatible products before applying the coating system.
Step 6: Apply the epoxy system
Once the concrete meets the required conditions, apply the primer and epoxy according to the manufacturer’s instructions.
Each step helps reduce installation problems and supports better coating adhesion.
Can Moisture Problems Be Fixed Before Installing Epoxy?
Yes. The solution depends on the source of moisture and the extent of the problem. Plumbing leaks should be repaired, while poor drainage may require improvements around the foundation. Moisture moving through concrete may need a suitable moisture mitigation system.
Some epoxy products can handle elevated moisture levels, but they still have specific limits. Always follow the manufacturer’s guidelines before application.
When searching for epoxy flooring services near me, choose contractors who check moisture levels and recommend suitable solutions. For ongoing groundwater or foundation issues, basement waterproofing services near me may also be necessary before installing epoxy.
Why Choose Tru Integrity for Moisture Protection?
A successful flooring project requires more than applying a coating over concrete. The condition of the slab, moisture levels, surface preparation, and product compatibility all matter.
Tru Integrity provides professional waterproofing solutions to help property owners address underlying moisture concerns. Its experienced team focuses on understanding the source of water-related problems and recommending suitable protection measures.
Addressing these concerns before flooring installation can help reduce avoidable damage, repair costs, and premature coating failure.
Protect Your Epoxy Floor Before Installation
Moisture vapor testing should never be treated as an optional step before epoxy flooring. Hidden moisture can weaken adhesion and cause peeling, bubbling, and costly repairs. Testing helps contractors understand the concrete’s condition and decide whether additional moisture control is needed.
Invest in professional epoxy waterproofing flooring services from Tru Integrity to address moisture concerns before installation and create a stronger foundation for a durable flooring system.
Key Takeaways:
- Moisture trapped inside concrete can weaken the bond between epoxy and the floor.
- Moisture vapor testing identifies potential problems before coating application.
- Skipping testing can lead to peeling, bubbling, blistering, and discoloration.
- Proper surface preparation and moisture control improve coating performance.
- Contractors should follow moisture limits recommended by epoxy manufacturers.
Frequently Asked Questions:
1. Is moisture vapor testing necessary before every epoxy installation?
It is strongly recommended, particularly for ground-level and below-grade concrete slabs. Follow the selected flooring manufacturer’s testing requirements.
2. How long does concrete moisture testing take?
A calcium chloride test generally takes 60–72 hours. Relative humidity testing requires probe equilibration according to ASTM F2170.
3. Can epoxy be applied to damp concrete?
Only when the selected epoxy system specifically allows the measured moisture conditions. Standard epoxy coatings may fail over excessively damp concrete.
4. Can peeling epoxy flooring be repaired?
Yes, but the underlying cause must first be identified. Damaged coating may need removal, followed by moisture correction and proper surface preparation.
5. Does Tru Integrity help address moisture problems before flooring installation?
Yes. Tru Integrity provides waterproofing solutions to help property owners address moisture concerns and protect concrete surfaces.